working instruction instalation cacti network monitoring system on centos 6.5
TRANSCRIPT

Instalasi Cacti Network Monitoring System
Pada Centos 6.5
Untuk penginstalan Cacti ini siapkan server anda (Disini penulis menggunakan Centos 6.5) dan mengintall packet-packet yang dibutuhkan :
Apache :[root@localhost ~]#yum install httpd httpd-devel
Mysql[root@localhost ~]#yum install mysql mysql-server
PHP[root@localhost ~]#yum install php-mysql php-pear php-common php-gd php-devel php php-mbstring php-cli php-mysql
PHP-SNMP[root@localhost ~]#yum install php-snmp
NET-SNMP[root@localhost ~]#yum install net-snmp-utils p net-snmp-libs php-pear-Net-SMTP
Install RRDTools[root@localhost ~]#rrdtool
Sesudah packet sudah terinstall kita nyalakan packet tersebut[root@localhost ~]#/etc/init.d/httpd start[root@localhost ~]#/etc/init.d/mysqld start[root@localhost ~]#/etc/init.d/snmpd start
[root@localhost ~]#/sbin/chkconfig –levels 345 httpd on[root@localhost ~]#/sbin/chkconfig –levels 345 mysqld on[root@localhost ~]#/sbin/chkconfig –levels 345 snmpd on
Setelah service dinyalakan, install packet cacti yang akan kita pakai untuk monitoring yang akan kita pakai[root@localhost ~]#yum install cacti
Setelah packet sudah terinstall kan semua lalu masuk pada database (mysql) dan buat database baru untuk cacti
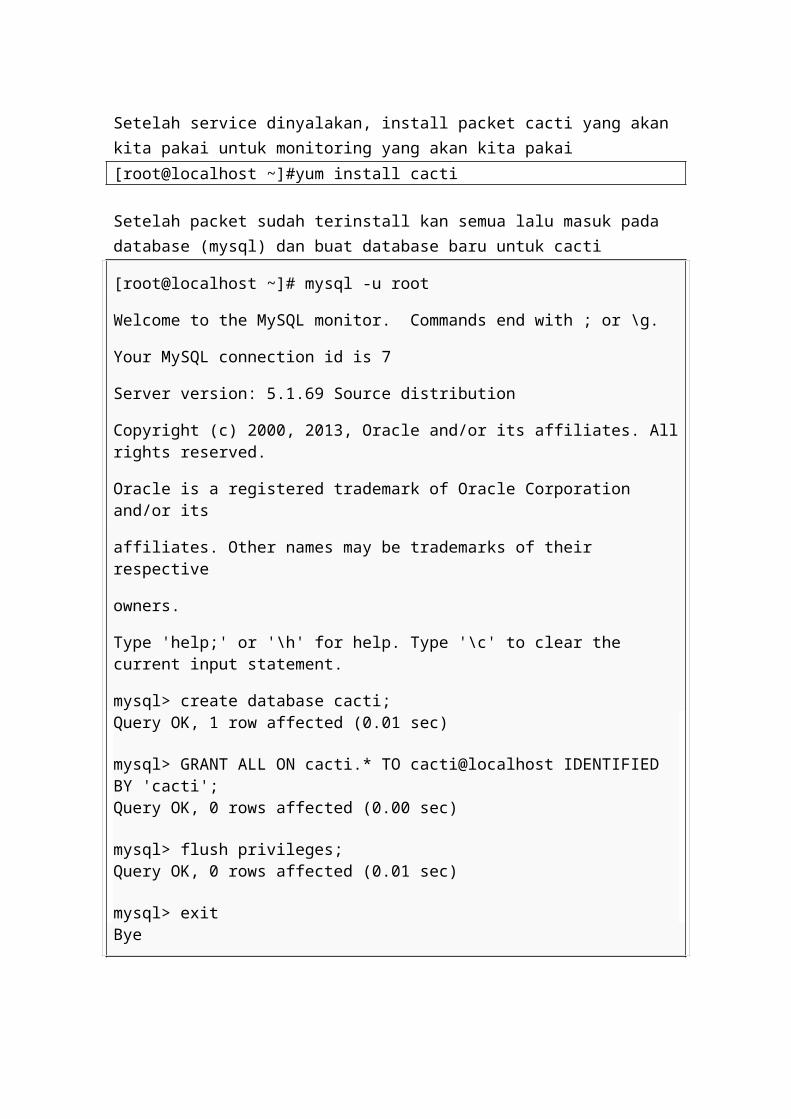
[root@localhost ~]# mysql -u root
Welcome to the MySQL monitor. Commands end with ; or \g.
Your MySQL connection id is 7
Server version: 5.1.69 Source distribution
Copyright (c) 2000, 2013, Oracle and/or its affiliates. All rights reserved.
Oracle is a registered trademark of Oracle Corporation and/or its
affiliates. Other names may be trademarks of their respective
owners.
Type 'help;' or '\h' for help. Type '\c' to clear the current input statement.
mysql> create database cacti;Query OK, 1 row affected (0.01 sec)
mysql> GRANT ALL ON cacti.* TO cacti@localhost IDENTIFIED BY 'cacti';Query OK, 0 rows affected (0.00 sec)
mysql> flush privileges;Query OK, 0 rows affected (0.01 sec)
mysql> exitBye
Setelah database selesai dibuat kita import file sql (cacti.sql), lihat dulu dan temukan file database cacti tersimpan dimana.
[root@localhost ~]# rpm -ql cacti | grep cacti.sql/usr/share/doc/cacti-0.8.8a/cacti.sql
Setelah diketahui file sql cacti dimana, kita masukan pada database cacti yang tersimpan di mysql
[root@localhost ~]# mysql -u cacti -p cacti < /usr/share/doc/cacti-0.8.8a/cacti.sql
Lalu masuk pada file db.php cacti dan kita konfigurasi sesuai database yang kita buat
[root@localhost ~]# vi /etc/cacti/db.php
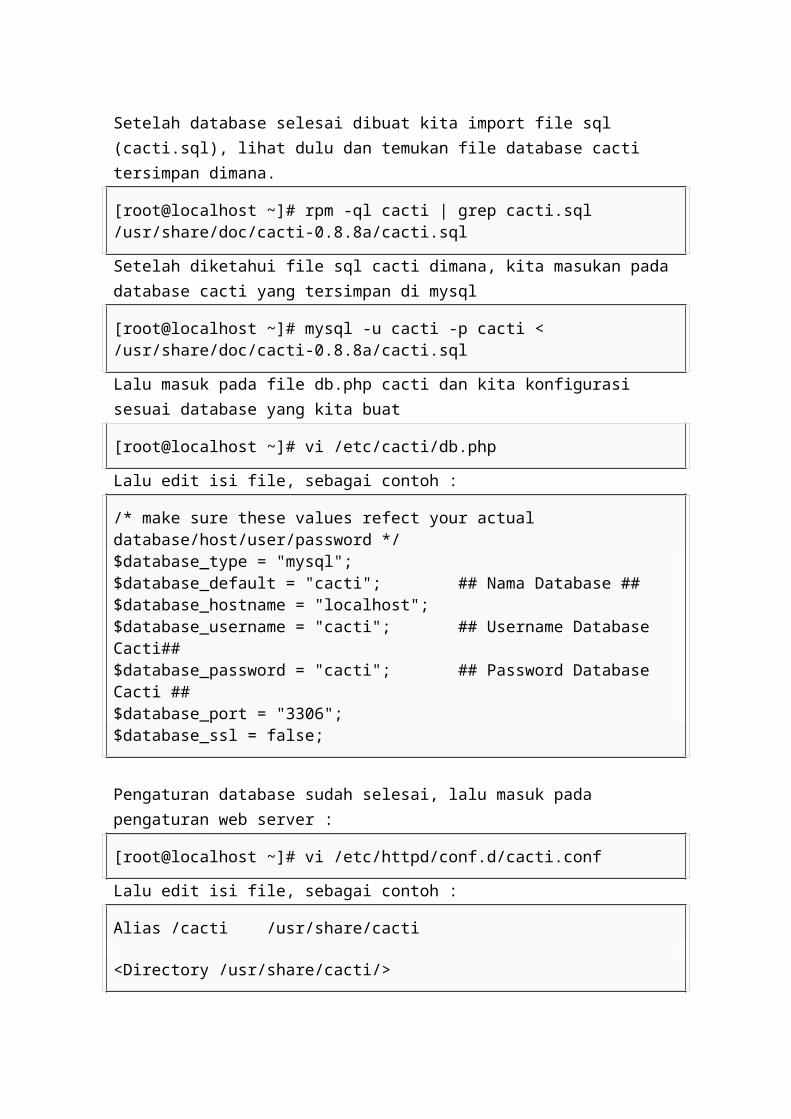
Lalu edit isi file, sebagai contoh :
/* make sure these values refect your actual database/host/user/password */$database_type = "mysql";$database_default = "cacti"; ## Nama Database ##$database_hostname = "localhost";$database_username = "cacti"; ## Username Database Cacti##$database_password = "cacti"; ## Password Database Cacti ##$database_port = "3306";$database_ssl = false;
Pengaturan database sudah selesai, lalu masuk pada pengaturan web server :
[root@localhost ~]# vi /etc/httpd/conf.d/cacti.conf
Lalu edit isi file, sebagai contoh :
Alias /cacti /usr/share/cacti
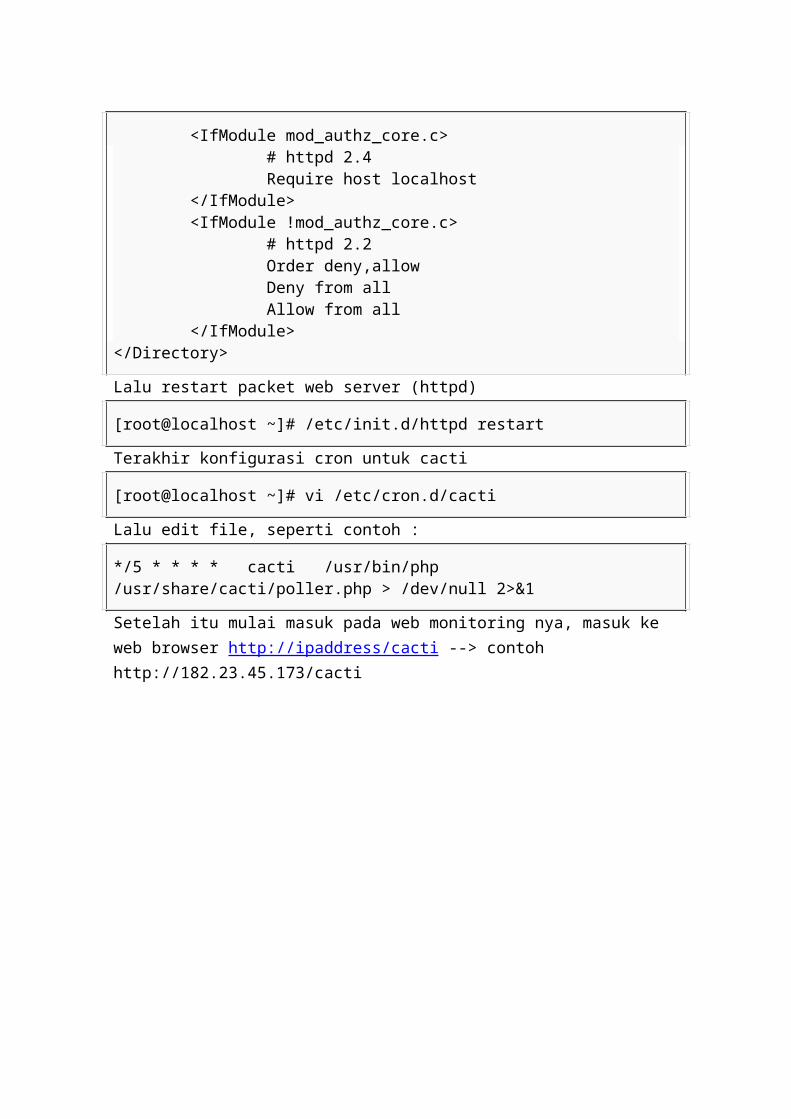
<Directory /usr/share/cacti/> <IfModule mod_authz_core.c> # httpd 2.4 Require host localhost </IfModule> <IfModule !mod_authz_core.c> # httpd 2.2 Order deny,allow Deny from all Allow from all </IfModule></Directory>
Lalu restart packet web server (httpd)
[root@localhost ~]# /etc/init.d/httpd restart
Terakhir konfigurasi cron untuk cacti
[root@localhost ~]# vi /etc/cron.d/cacti
Lalu edit file, seperti contoh :
*/5 * * * * cacti /usr/bin/php /usr/share/cacti/poller.php > /dev/null 2>&1
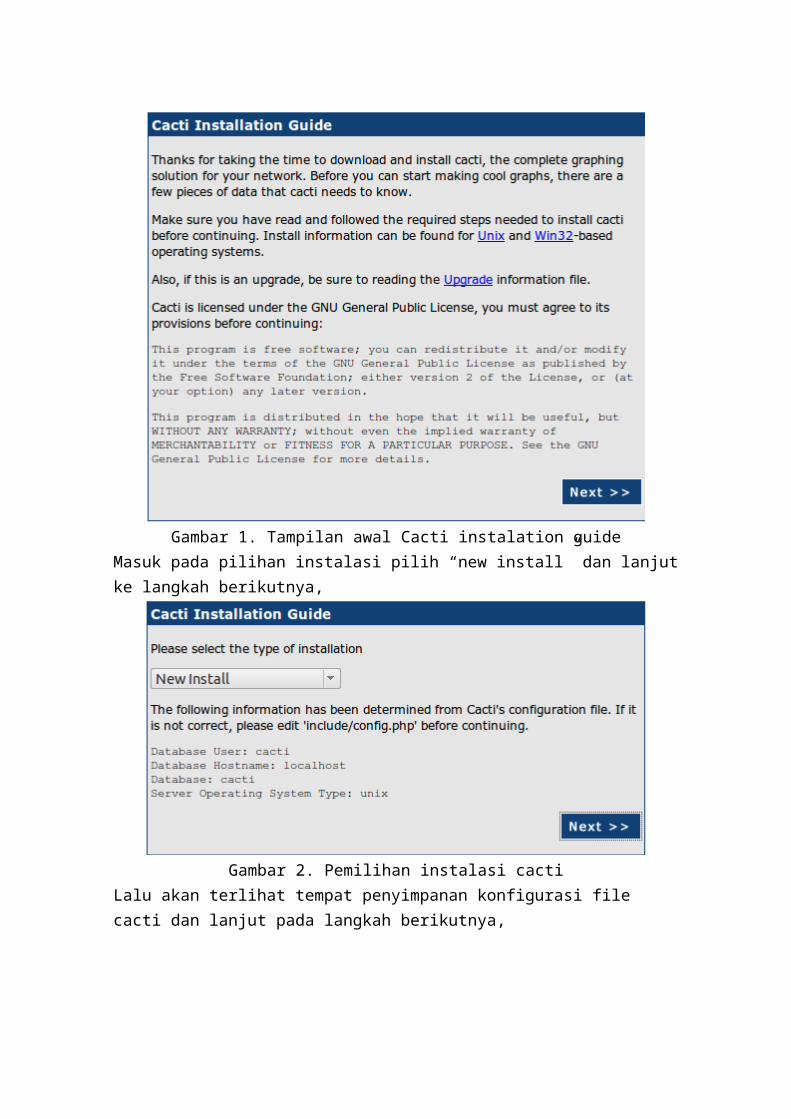
Setelah itu mulai masuk pada web monitoring nya, masuk ke web browser http://ipaddress/cacti --> contoh http://182.23.45.173/cacti
Gambar 1. Tampilan awal Cacti instalation guideMasuk pada pilihan instalasi pilih “new install” dan lanjut ke langkah berikutnya,
Gambar 2. Pemilihan instalasi cactiLalu akan terlihat tempat penyimpanan konfigurasi file cacti dan lanjut pada langkah berikutnya,
Gambar 3. Penempatan file konfigurasi cactiSetelah itu akan masuk pada tampilan login cacti, login dan masukan username default cacti :Username : adminPassword : admin
Gambar 4. Login username dan password cacti

Setelah selesai login kita akan diminta membuat password baru dan masukan password baru kita untuk mengubah password awal.
Gambar 5. Isian password baruSetelah password baru telah dimasukan kita telah masuk pada console cacti dan bisa memonitoring host-host yang akan kita mulai monitoring
Gambar 6. Tampilan console awal cactiInstalasi cacti telah selesai, dan system monitoring system cacti sudah bisa dipakai untuk memonitoring host-host atau server yang akan kita monitoring.